Standard press brake tooling can handle a surprisingly wide range of bending jobs. Standard punches, V dies, gooseneck punches, radius tools, and hemming tools cover most everyday applications.
But sooner or later, a part comes along that seems to say:
“Nice try. Your standard tooling isn't going to work here.”
That is usually when custom press brake tooling enters the picture.
Custom tooling is not about making something unusual just for the sake of it. It is about designing a tool around a specific part geometry, material, machine, bending sequence, and production requirement when standard tooling can no longer provide the required result.
The first question is not “Can you make a custom tool?”
The better question is:
“Do I really need one?”
If a standard punch and die can produce the required bend safely and consistently, there is usually little reason to reinvent the tooling.
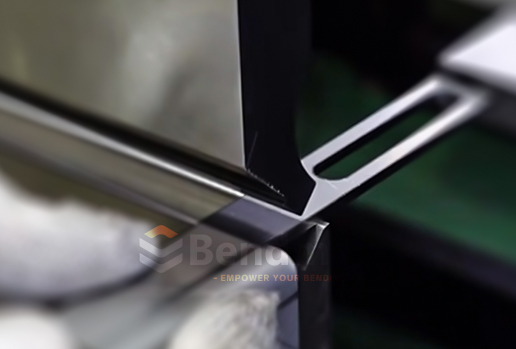
Custom tooling becomes worthwhile when standard tools create problems such as:
• The required bend geometry cannot be achieved
• The flange is too short or too deep
• The workpiece interferes with the standard punch
• Several bends need to be produced in one setup
• A special radius or angle is required
• The part requires offset or Z-bending
• Standard tooling causes marking or deformation
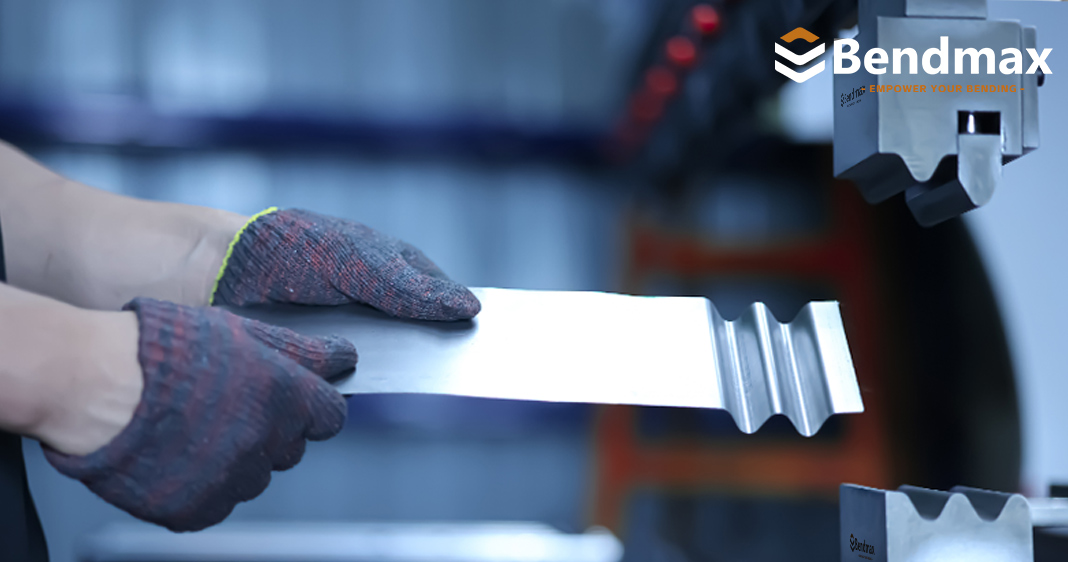
• The production process requires a dedicated forming operation
• Setup time needs to be reduced
• The same special part is produced repeatedly
• The workpiece must be completely free of tool marks.
In other words:
If the part is unusual, the tooling may need to be unusual too.
A common mistake is to start the discussion with:
“We need a special punch.”
That is a little too early.
A proper custom tooling design starts with the workpiece.
The tooling designer needs to understand:
Typical information includes:
For example, bending 1.5 mm aluminum and 10 mm high-strength steel are obviously not the same job. The tooling geometry, die opening, punch radius, and required bending force can be completely different.
Important dimensions include:
Even a small feature can determine whether a standard tool will work.
The tooling must also match the press brake.
Important machine parameters include:
A beautifully designed custom punch is not very useful if it does not fit the machine.
"
For more information, explore our related articles.
[ How to Calculate Press Brake Tonnage for Different Tooling (Complete Guide 2026) ]
[ How to Select the Right Press Brake Tooling Based on Bending Force ]
[ What is Press Brake Tooling? The Ultimate Guide for Manufacturers ]
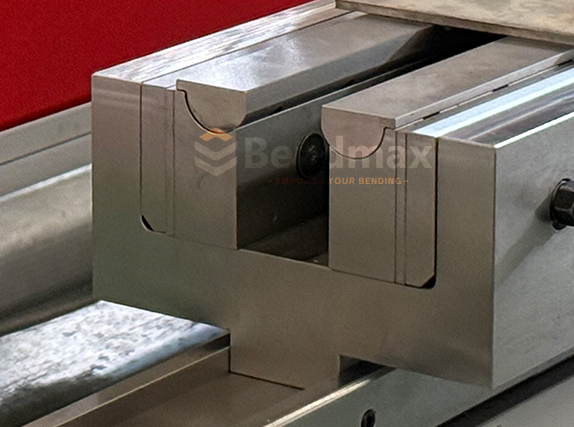
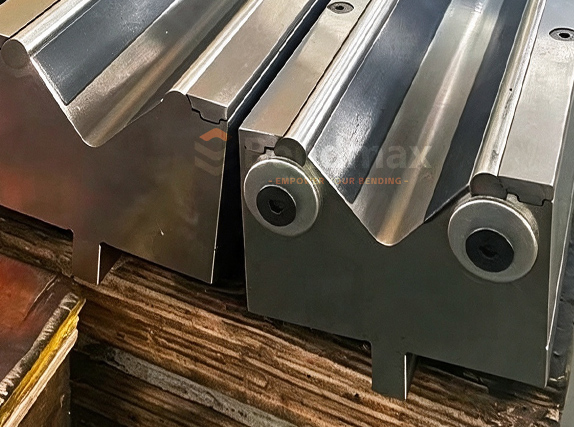
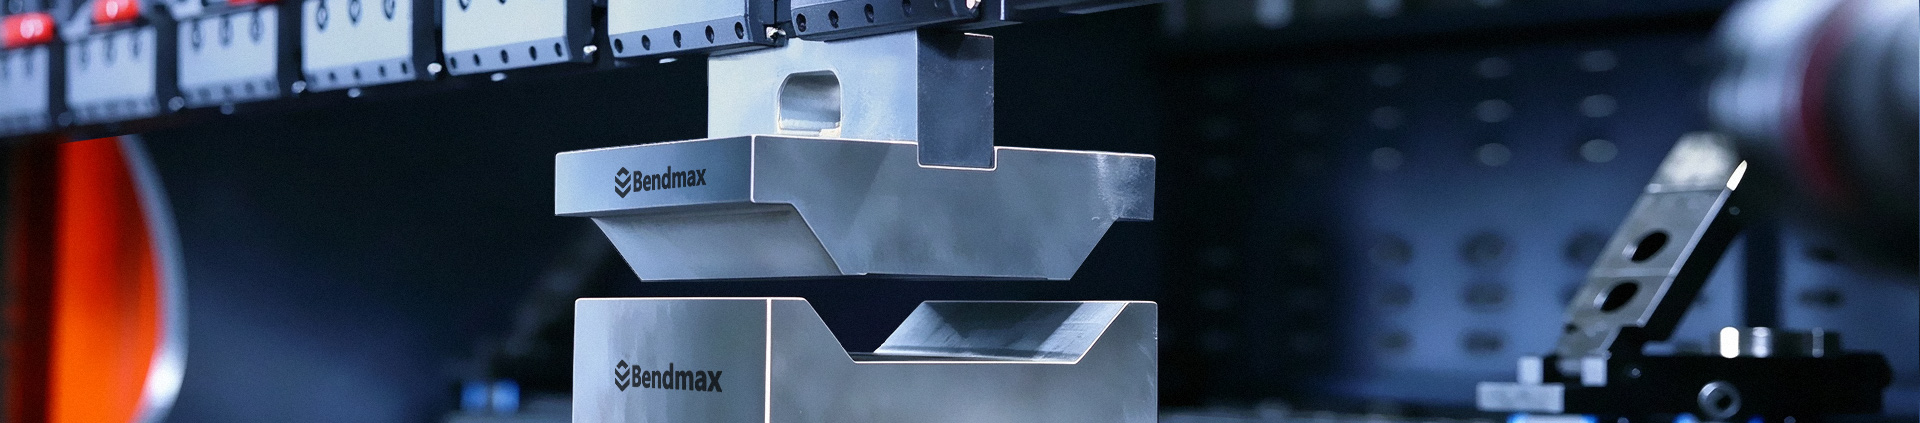
Custom Tooling can take many forms. Some are completely unique, while others are essentially modified versions of standard tooling.
Here are several common examples.
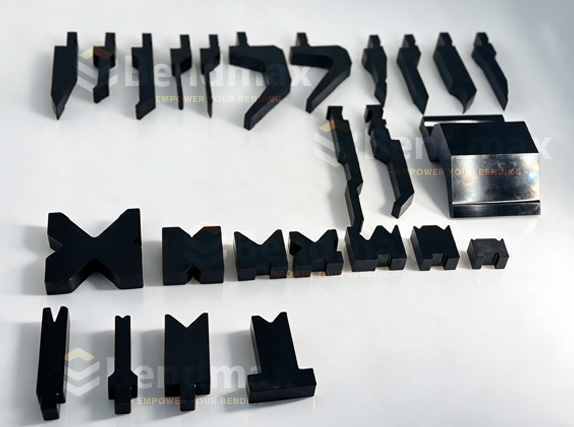
A custom punch may be required when a standard punch interferes with the workpiece.
Typical designs include:
Extra-deep gooseneck punches
Narrow punches
Extended punches
Special-angle punches
Radius punches
Offset punches
Custom forming punches
Multi-step forming punches
For example, a deep box-shaped workpiece may collide with a standard straight punch. A gooseneck or offset punch can provide the additional clearance needed to complete the bend.
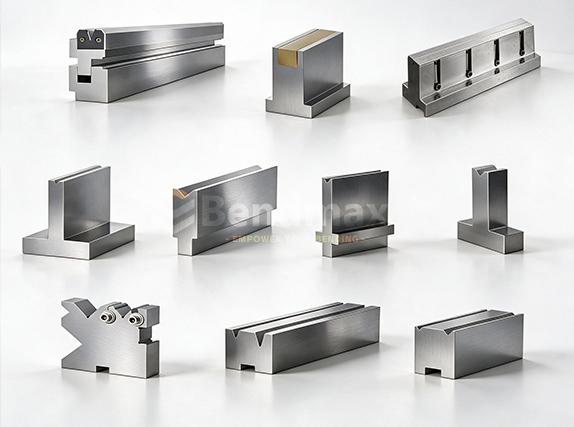
The same principle applies to lower tooling.
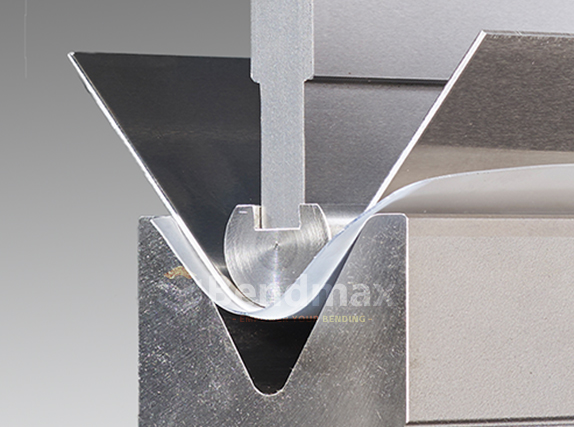
A standard V die works well for conventional air bending, but special applications may require:
• Custom V openings
• Multiple V openings
• Asymmetric V dies
• Offset dies
• Radius dies
• U-shaped dies
• Four-way dies
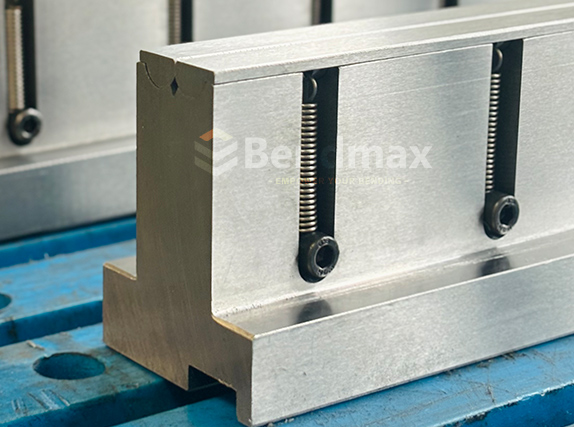
• Adjustable dies
• Forming dies
The die opening is particularly important because it affects the relationship between material thickness, inside radius, bending force, and minimum flange length.
For conventional air bending, a commonly used starting point is:
V ≈ 6–8 × material thickness
But this is not a universal rule. Material strength, desired radius, tooling geometry, and machine capacity all matter.
That is exactly why custom tooling should be designed around the actual application rather than simply copying a dimension from a catalog.
Here is one of the biggest advantages of custom tooling:
You can sometimes turn several operations into one.
Imagine a part that normally requires:
A specially designed forming tool may combine several of these operations into a single setup.
That can reduce:
For high-volume production, even saving 30 seconds per part can become significant.
For example, at 500 parts per month:
0.5 min × 500 = 250 minutes
That's more than 4 hours of production time saved every month.
And that is just from one small improvement.
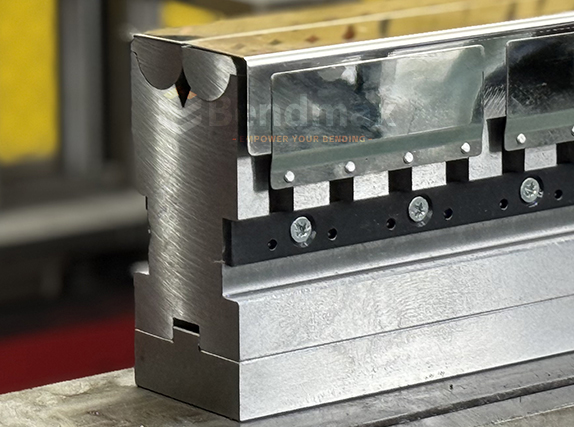
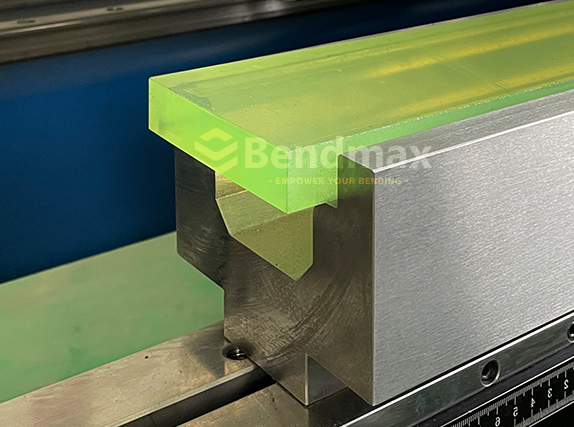
Surface marking is another common reason for going custom.
Standard V dies can leave marks on:
If cosmetic quality is important, a custom no-mark or non-marking die may be a better solution.
Depending on the application, the tooling may use:
The goal is simple:
Bend the sheet without leaving a tool-shaped souvenir behind.
This can be especially valuable when the finished component cannot be polished, repainted, or otherwise reworked after bending.
|
Bendmax Adjustable Rotatable V-die
|
Bendmax Round-Bar No-Mark Press Brake Die
|
Bendmax Wing Bending Plus tooling
|
|
Bendmax PU Holder and Insert markfree/no-mark dies
|
Bendmax Protective Film
|
Bendmax Rotatable V-die
|
Offset bending is another classic custom-tooling application.
A Z-bend typically requires two parallel bends with a controlled offset between them.
You can perform the operation using multiple standard tools, but a dedicated Z-bending tool can sometimes make the process faster and more consistent.
The key dimensions are usually:
For repeated production, a dedicated offset tool can make much more sense than repeatedly setting up several standard punches and dies.
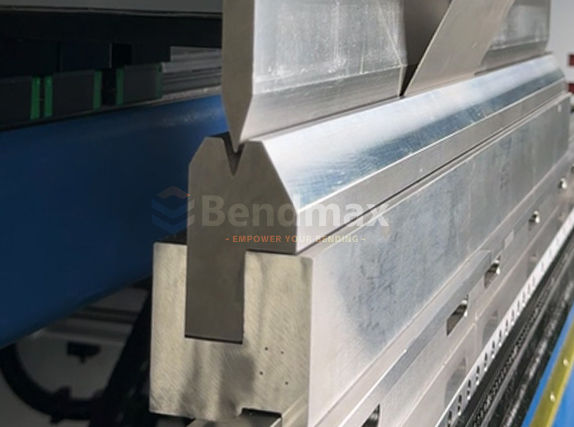
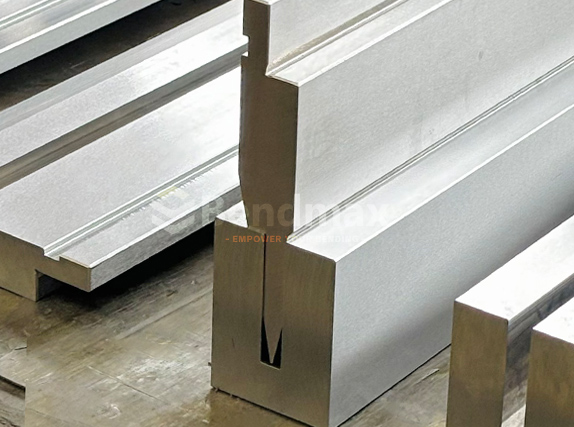
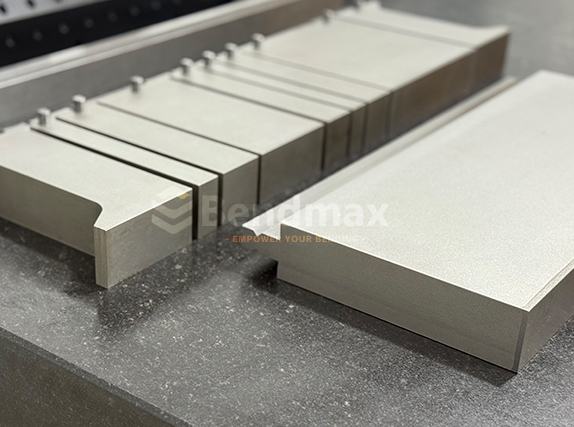
Hemming looks simple.
It isn't always.
A typical hemming process involves first bending the sheet and then flattening the folded edge.
Depending on the material and part design, the process may require:
The tooling must provide enough clearance for the pre-bent flange while controlling the final flattened geometry.
For production parts with a consistent hemming requirement, custom tooling can help reduce setup complexity and improve repeatability.
 |
 |
 |
The same custom tool design cannot necessarily be used for every material.
Consider three common materials:
| Material | Typical Characteristics | Tooling Consideration |
|---|---|---|
| Mild Steel | Relatively easy to form | General-purpose tooling often works |
| Stainless Steel | Higher strength and springback | Higher force and suitable radii may be required |
| Aluminum | Soft surface, lower density | Surface protection and suitable radii are important |
High-strength steels require even more attention.
As material tensile strength increases, the required bending force generally increases as well. Tooling must therefore be checked against the machine's available tonnage and the tooling's allowable load.
This is one reason why simply making a tool “stronger” is not the complete answer.
Tool geometry, material, heat treatment, and machine capacity all work together.
For industrial press brake tooling, material selection is critical.
A commonly used material is 42CrMo4 / 42CrMo alloy steel, particularly for tooling that requires a good combination of strength, toughness, and wear resistance.
Depending on the application, manufacturers may also use materials such as:
Heat treatment is equally important.
A custom tool may use:
For example, a tooling design may use a hardened working area around HRC 54–60, depending on the material grade, manufacturing process, and application requirements.
The important point is that hardness should not be considered independently.
A tooling component that is extremely hard but too brittle is not necessarily a better tool.
Strength + toughness + wear resistance = the real goal.
This is worth mentioning.
A custom tool does not necessarily mean designing every dimension from zero.
In many cases, the best solution is a modified standard tool.
For example:
Standard punch + modified nose radius
or
Standard V die + custom insert
or
Standard holder + custom forming section
This approach can reduce manufacturing time and cost while still solving the customer's specific bending problem.
It is often a smarter solution than designing a completely new tooling system.
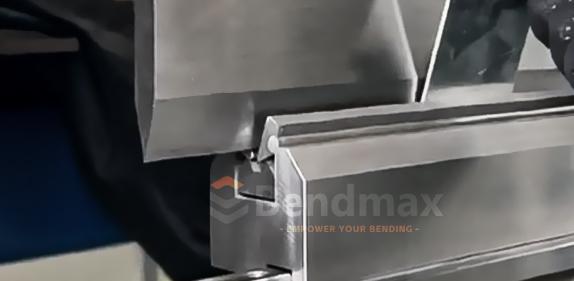
A professional custom tooling project normally follows a process something like this:
Start with the part drawing, material, thickness, bend requirements, and production volume.
Confirm the press brake model, tonnage, tooling interface, clamping system, and available working height.
Determine the bending sequence, required V opening, punch geometry, inside radius, clearance, and estimated bending force.
CAD modeling can be used to check:
For more complex applications, FEA (Finite Element Analysis) can also be used to evaluate stress distribution and deformation.
The tool is machined, heat treated, ground, and finished according to the required tolerances.
The final step is not simply:
“Looks good. Ship it.”
The tooling should be tested against the intended application whenever practical.
The final goal is a tool that works on the actual machine with the actual material and actual part geometry.
Related Articles
" [ How to Select the Right Press Brake Tooling Based on Bending Force ]
[ Why Does Bendmax Focus on Strict Process Control During Press Brake Tooling Production? ]
There is no universal price.
A simple modified punch may cost only slightly more than a standard tool.
A large, multi-stage forming tool can be significantly more expensive.
Cost depends on factors such as:
But the purchase price should not be the only number you look at.
Think about the total production cost.
If a $500 custom tool eliminates several setup operations and saves 10 minutes per batch, its value can be much higher than its purchase price suggests.
That is why custom tooling should be evaluated based on ROI, not just unit price.
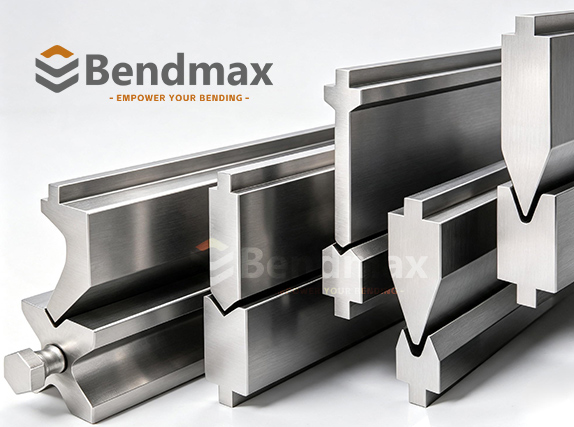
Custom tooling isn't always the answer.
If you only need to produce 10 parts once, spending heavily on a dedicated forming tool may not make economic sense.
A standard punch and die might be perfectly adequate.
Custom tooling becomes more attractive when:
In short:
If you bend it once, standard tooling may win.
If you bend it 10,000 times, the calculation changes.
If you want a custom tooling quotation, don't just send:
“I need a special punch.”
That leaves a lot of room for guessing.
A much better starting package includes:
1. Part drawing
Preferably a PDF, DXF, or 3D CAD file.
2. Material
For example: S235, S355, stainless steel 304, aluminum 5052, etc.
3. Material thickness
For example: 2.0 mm, 3.0 mm, 6.0 mm.
4. Bend requirements
Include angle, radius, flange length, offset, and other critical dimensions.
5. Press brake information
Machine manufacturer, model, tonnage, and bending length.
6. Tooling system
European/Promecam, American, Trumpf, WILA, Amada, or another interface.
7. Production requirements
Tell the manufacturer whether you need 5 pieces, 500 pieces, or 50,000 pieces.
That last number can significantly influence the best tooling solution.
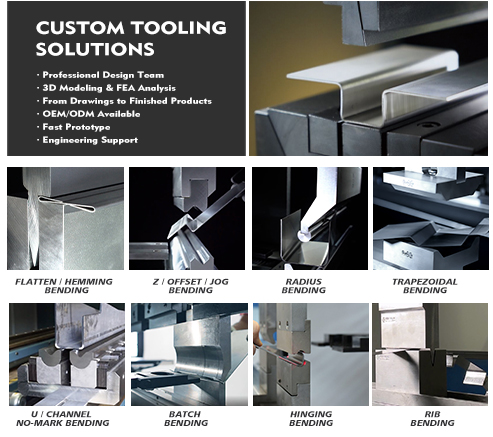
The best custom tooling isn't necessarily the most complicated one.
Sometimes it is a sophisticated multi-stage forming tool.
Sometimes it is simply a modified punch with 5 mm more clearance.
Sometimes a custom insert solves the problem.
And sometimes, after looking at the application, the best answer is:
“You don't actually need custom tooling. This standard tool will do the job.”
That's exactly what you want from a tooling manufacturer.
The goal isn't to sell you the most complicated tool.
The goal is to find the simplest, safest, and most economical tooling solution that produces the required part consistently.
Standard press brake tooling is the starting point for most bending applications.
But when your part geometry gets complicated, production volumes increase, surface quality becomes critical, or standard tools simply cannot provide enough clearance, custom press brake tooling can turn a frustrating bending operation into a much cleaner process.
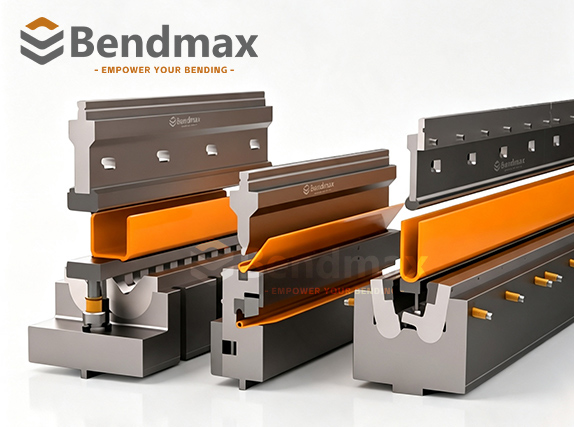
At Bendmax, custom tooling can be developed for different press brake tooling systems, machine interfaces, materials, bend geometries, and production requirements.
Whether you need a modified punch, special V die, Z-bending tool, hemming tool, no-mark die, or a completely customized forming solution, the best place to start is not with the tool.
Start with the part.
Send the drawing, material, thickness, machine information, and bending requirements.
We'll work backward from the finished part to the tooling that makes it happen.
 Phone: (0086)-15002165198
 Email: jason@bendmax.com
 Wechat: Privacy Policy
 IPv6 network supported
leave a message
Scan to wechat :

Scan to whatsapp :

 English